We bought our house in 2009 without really having any clue as to what type of work we wanted to do on it to spruce it up but knew we really wanted the house and saw the potential it had!
The front door on it was crap and broke, so we replaced it with a nice black one as well as added shutters all around the house. The landscaping was as-is when we moved in, but plan to do a lot more outside this summer!

We have an enclosed front porch which is great during storms! It was this nasty yellow color which was quickly painted and freshened up! More on that can be found
here:
We painted the walls the Sherwin Williams Marshmallow that we have used throughout the house and the floors got a coat of caramel colored paint which turned out great!!
Of course we still have tons more to do to this room, but the improvements from how it looked before are huge and definitely give the room more life!
This was our living room when we first moved in before any furniture...
and this was after some decorating and furniture....
Our dining room started out like this:

and thanks to a little
paint and a new rug we now have this:

Then moving onto the kitchen this is what it looked like before our
kitchen reno:
And this is after:
We have one downstairs bathroom:

But thanks to the
bathroom reno we're doing, it looked like this after we gutted it and started framing out the shower:

We then added some concrete board, a mortar shower pan and some tile and we have this:

We also have a downstairs bedroom which we're not huge fans of but it does the job. Maybe we'll change some things around in there once we're done with the bathroom!

and after installing
wainscoting,
ripping out the carpet,
installing and
painting particle board floors and adding a stencil:

Moving upstairs we have three bedrooms and office and a bathroom:
First bedroom is what we call the wainscoting room from this
project:


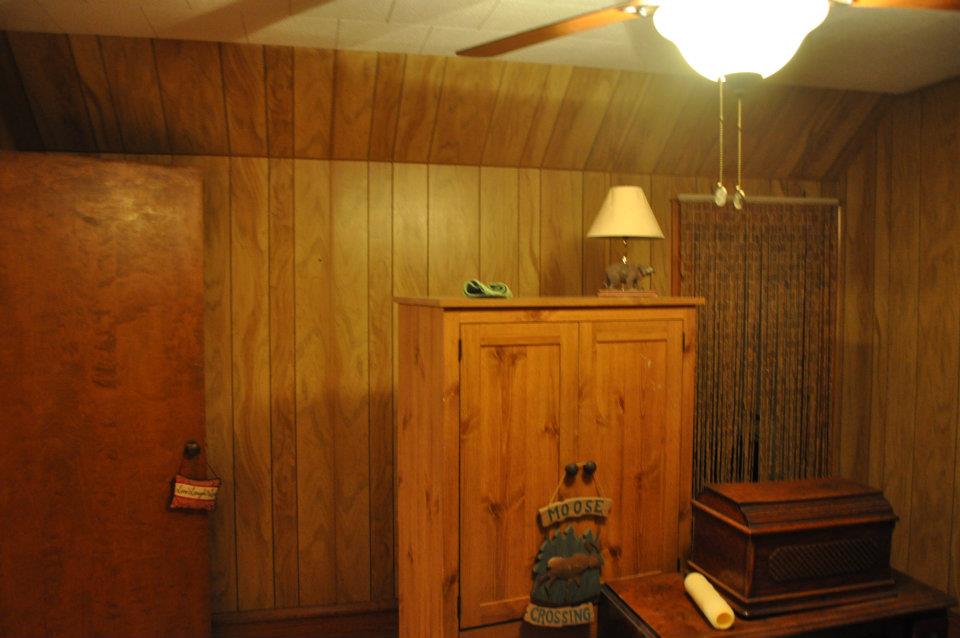
The front bedroom which started out like this:
and after
painting the paneling and adding some decor it ended up looking like this:


Then when you walk through the right door on the above picture you enter into the
third bedroom:
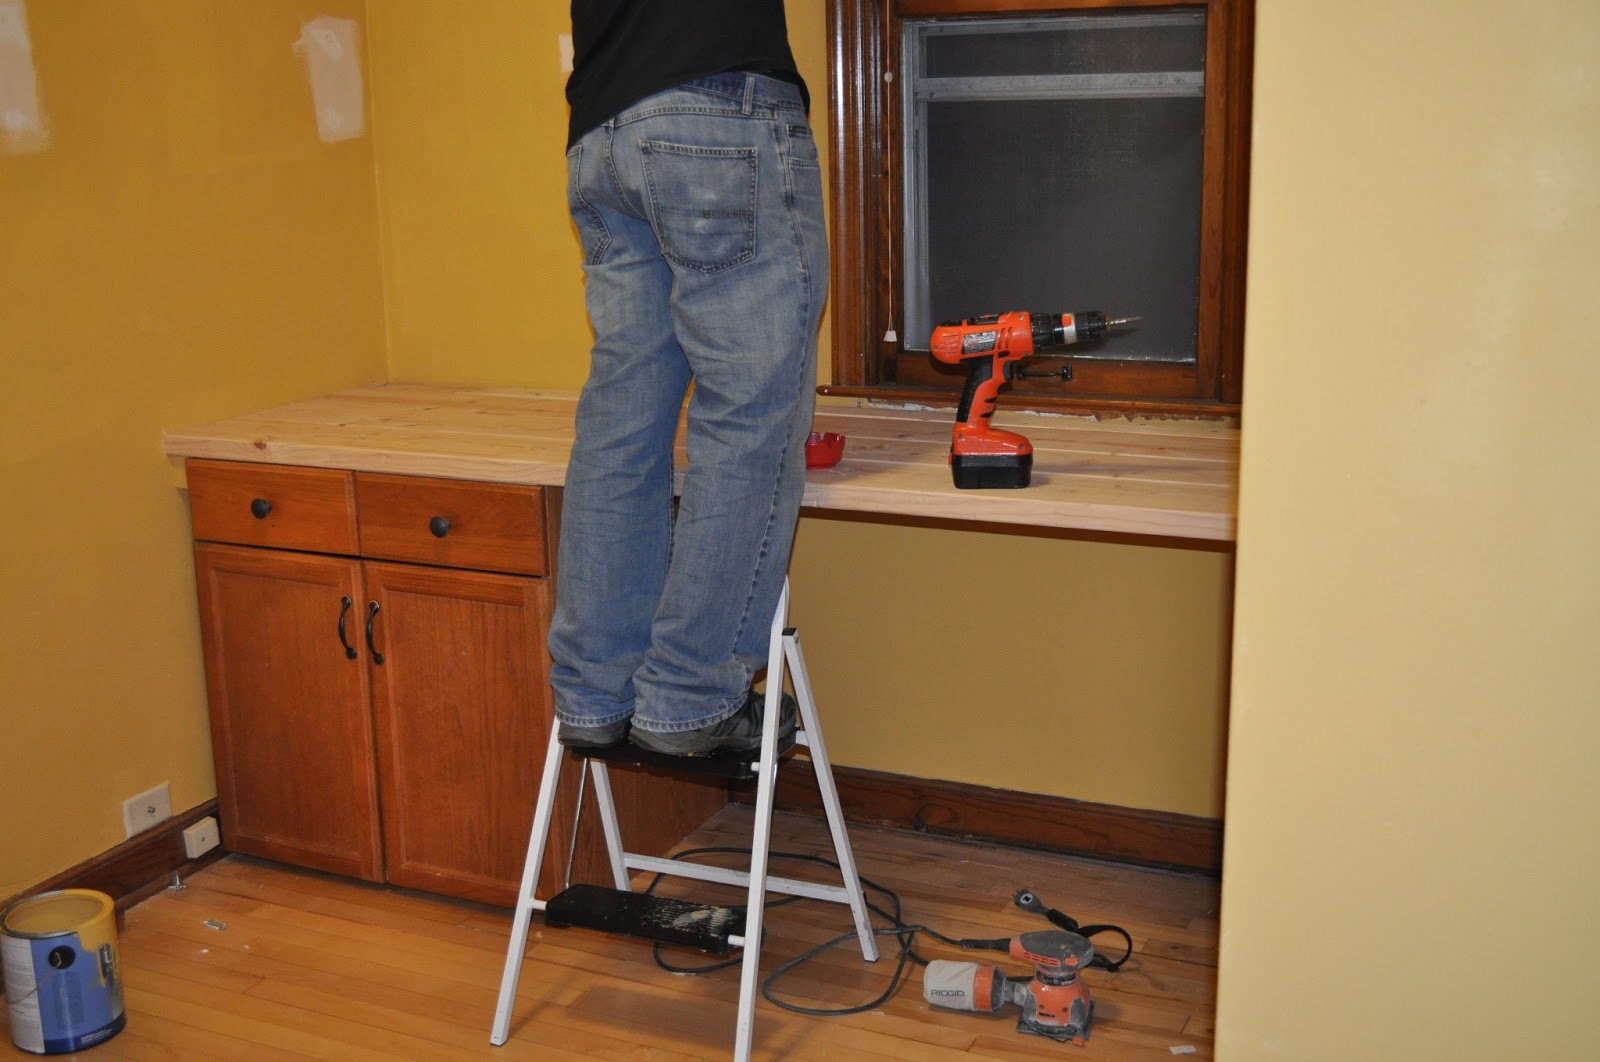
We also have an
office upstairs that needed some love:
Then we moved the cabinet, painted it and made a 2X4 top and stained it:
And our
upstairs bathroom which started out looking like a hot mess and after five long months of showering at my moms we had this:

We've done some landscaping to the backyard including some edging, a
paver patio and adding
some curb appeal to the front yard:


We hope you enjoyed our home as much as we did!


