Showing posts with label Christmas. Show all posts

Friday, January 10, 2014

Epsom Salt Wine Bottle Fail

Two years ago before Christmas I did the "white spray painted bottle with spray adhesive and epsom salt" project. It was easy, a little sticky but turned out awesome. This is the only picture that I could really find, which doesn't do justice, but the other one is how they looked close up!


Wine bottles spray painted white and dipped in Epsom salt.

It was so great I decided to keep the bottles around all year and so they stayed on our shelf in our living room. Slowly I started noticing more and more of the Epsom salt falling off of the bottles, thus resulting in a HUGE mess all over our shelves. With tubs everywhere, garland and lights tangled all over our floors, ornaments and tree debris flying everywhere, I decided it would be a good idea to take on this project.


I loved the idea of pretty white bottles, but the Epsom salt was a pain. So I decided to switch things up and rather then use Epsom salt, I used silver glitter that I had. I do have to say that I like the way this turned out much more, especially knowing that I do not have to worry about the glitter flaking off like the Epsom salt did!

epsom salt, wine bottle, white paint, pinterest project, silver glitter

The hubs wasn't the happiest that I had a "squirrel" moment and decided to do this project rather then setting up our Christmas decor, but he got over it.  I probably could have used a new-used wine bottle, but decided to just take off all the Epsom salt and start from there.

epsom salt, wine bottle, white paint, pinterest project, silver glitter


I painted them with some white paint that I had about half way up then faded the silver glitter up the bottle. Wham, bam, thank you ma'am and I was done.  It took longer to clean up the glitter everywhere then it did to complete the project.
epsom salt, wine bottle, white paint, pinterest project, silver glitter
 The picture doesn't do justice to how sparkly they look and it's nice that I don't have to worry about Epsom salt getting EVERYWHERE!!


Monday, December 9, 2013

DIY Christmas Ornaments


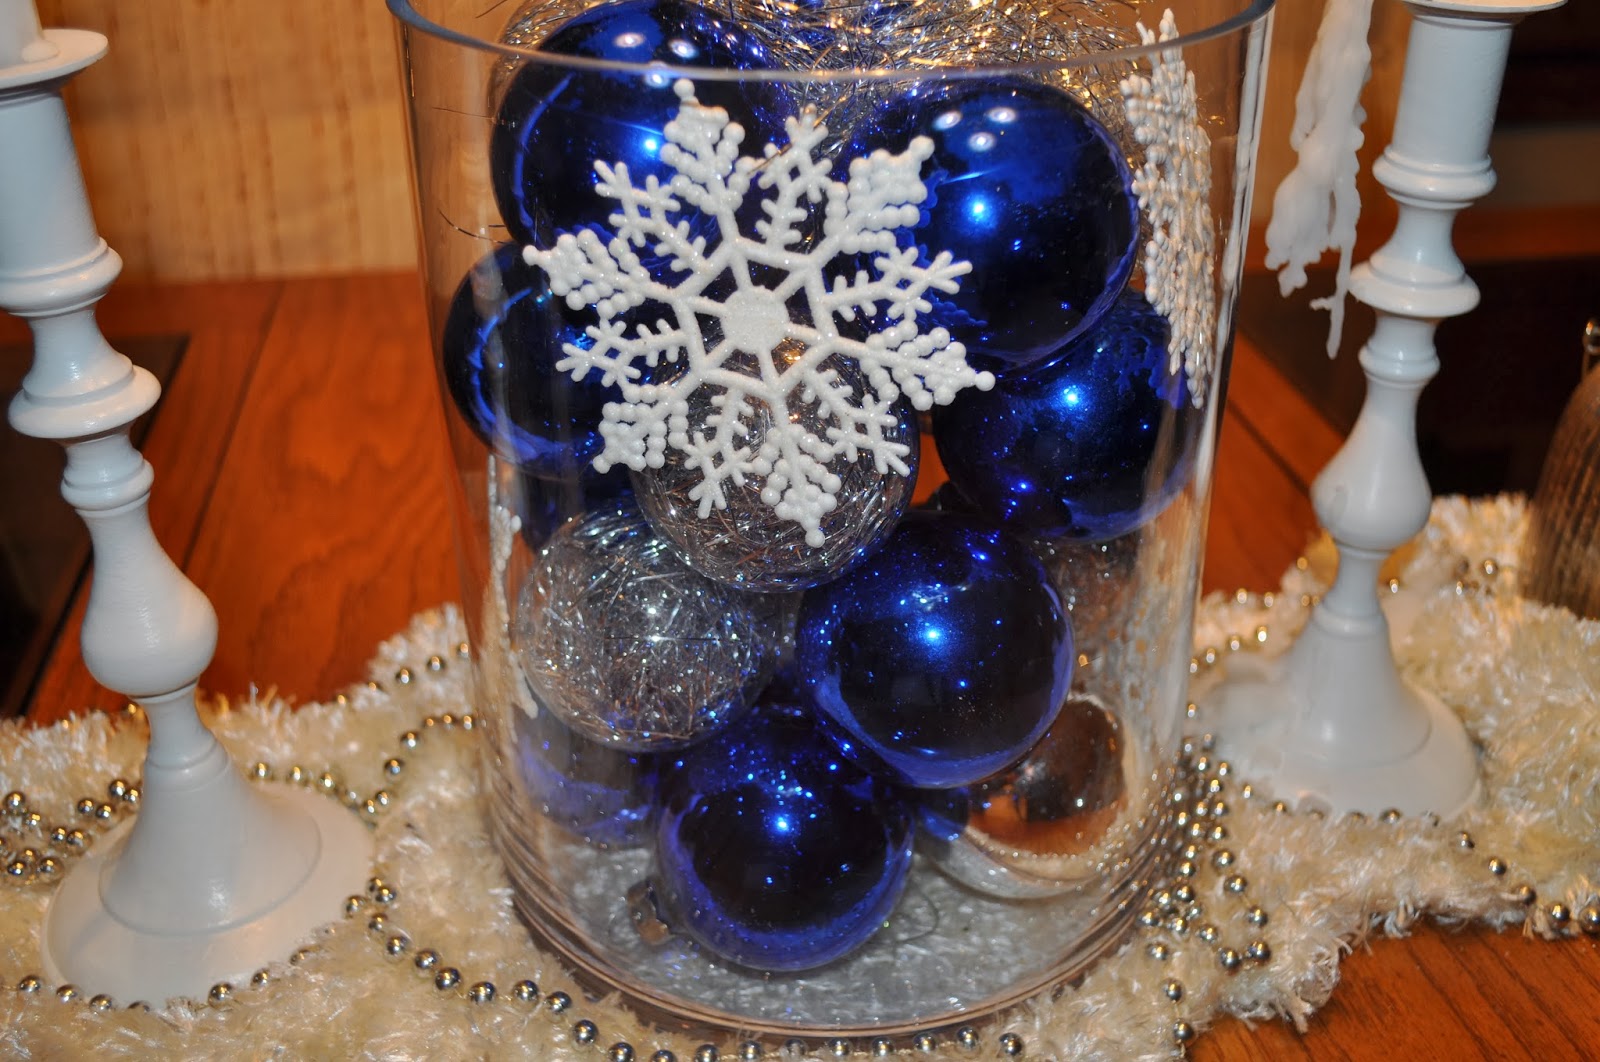
I love decorating my Christmas tree, but I hate paying an arm and a leg for ornaments. This project is so easy to do and makes a bunch of pretty ornaments for your tree or center piece!

DIY, Christmas, Ornaments, Clear ornaments, tinsel, Decor, Holidays, center piece, christmas tree

DIY, Christmas, Ornaments, Clear ornaments, tinsel, Decor, Holidays, center piece, christmas tree

I decided to DIY some ornaments using a box of clear ornaments that I got from Target for $6.00 and some tinsel that I had laying around the house.

DIY, Christmas, Ornaments, Clear ornaments, tinsel, Decor, Holidays, center piece, christmas tree

 I took off the top of the ornament and took some tinsel and started stuffing it inside the ornament. 

DIY, Christmas, Ornaments, Clear ornaments, tinsel, Decor, Holidays, center piece, christmas tree

DIY, Christmas, Ornaments, Clear ornaments, tinsel, Decor, Holidays, center piece, christmas tree

**You need to be careful when stuffing the tinsel in.  These ornaments can have sharp edges on the inside top portion and those sharp parts can easily cut your finger. (I learned from experience).  Using a chopstick or a pencil can help avoid any cuts**

Once I was done stuffing in the tinsel, I put the top back on and shook it until the tinsel was a little more separated!

DIY, Christmas, Ornaments, Clear ornaments, tinsel, Decor, Holidays, center piece, christmas tree

Rinse and repeat with the remaining ornaments and when you are done you have some tinselfied ornaments that you can use anywhere you want a little glisten!

DIY, Christmas, Ornaments, Clear ornaments, tinsel, Decor, Holidays, center piece, christmas tree

Sunday, December 8, 2013

Tree Lights Dilemma

EVERY. SINGLE. YEAR. The hubs and I always run into headaches while putting our tree up.  We have a fake tree, with lights on it already, and can never locate the plugs that attach from the lights on the top of the tree to the middle and from the middle of the tree to the lowest section.  I think last year I was ready to throw the tree outside and put lights on one of my barely alive house plants. 

We could probably avoid this by getting a real tree, but frankly, I don't have the greenest of thumbs so I'm sure I would kill the tree and start a fire.

The hubs is WAY more patient than I am when it comes to anything.  Water boiling, painting, small details of a project that I hate finishing, oh yeah and setting up the Christmas tree.  I am great at starting the projects, but I hate, hate, hate prepping for them.

This year, to avoid the whole, "where are the lights connected at?" dilemma, the hubs did this:

christmas lights, fake tree, christmas tree, setting up a christmas tree

 Simple: He tied some yarn that we had around each of the cords that plug into each other on the tree.  I was a little hesitant with the color he picked for the yarn because it was pretty noticeable before we had any ornaments on the tree, which I guess is what we wanted, but here is it all set up:

christmas lights, fake tree, christmas tree, setting up a christmas tree


We love it and you can't see the yarn at all, unless you are REALLY looking for it.  It's going to make our lives just a little easier during the set up and take down for future Christmas' to come!!