
My methods may be a bit unconventional for how I caulk, fill holes, prime and paint the woodwork in my kitchen, but this is how I roll...and I haven't had any issues either!
I started out by cleaning the existing wood in our kitchen with a wood cleaner then let it dry. I didn't sand the existing woodwork and haven't had any problems with it. Any new woodwork that the hubs installed I just primed at the same time that the rest of the wood was primed using Zissner Fast-Prime over it with a regular paint brush. I've read that some people use foam brushes or rollers, but with how many coats of paint are going on, a decent brush works just fine and doesn't leave any brush strokes.
The existing woodwork had nail holes in it from years of abuse, along with gaps in the wood between the framing and the trim. I've found that by priming the wood first, any imperfections and gaps in the wood are MORE noticeable, thus making it easier to caulk and fill holes. I use a paintable latex caulk on all the edges, holes and gaps and smooth it out with my finger. For the holes from the nail gun I just take a small amount of caulk and fill the hole.
This is where I take a break from the project, let the caulk dry, enjoy a cold drink and come back a little later.
What I also like about doing things this way is how easy the caulk shows up after.

After the caulks dry, I go back and touch up any areas that need touching up with caulk and let it dry. Then starts the fun part of painting the baseboards until they are a slick, shiny white.

Excuse the USPS boxes and the missing tile.... the tile cracked and needs to be replaced....and the boxes keep the freezer level because our kitchen isn't perfectly level...kind of like that packet of sugar underneath the kitchen table :)


So just last week we had this:


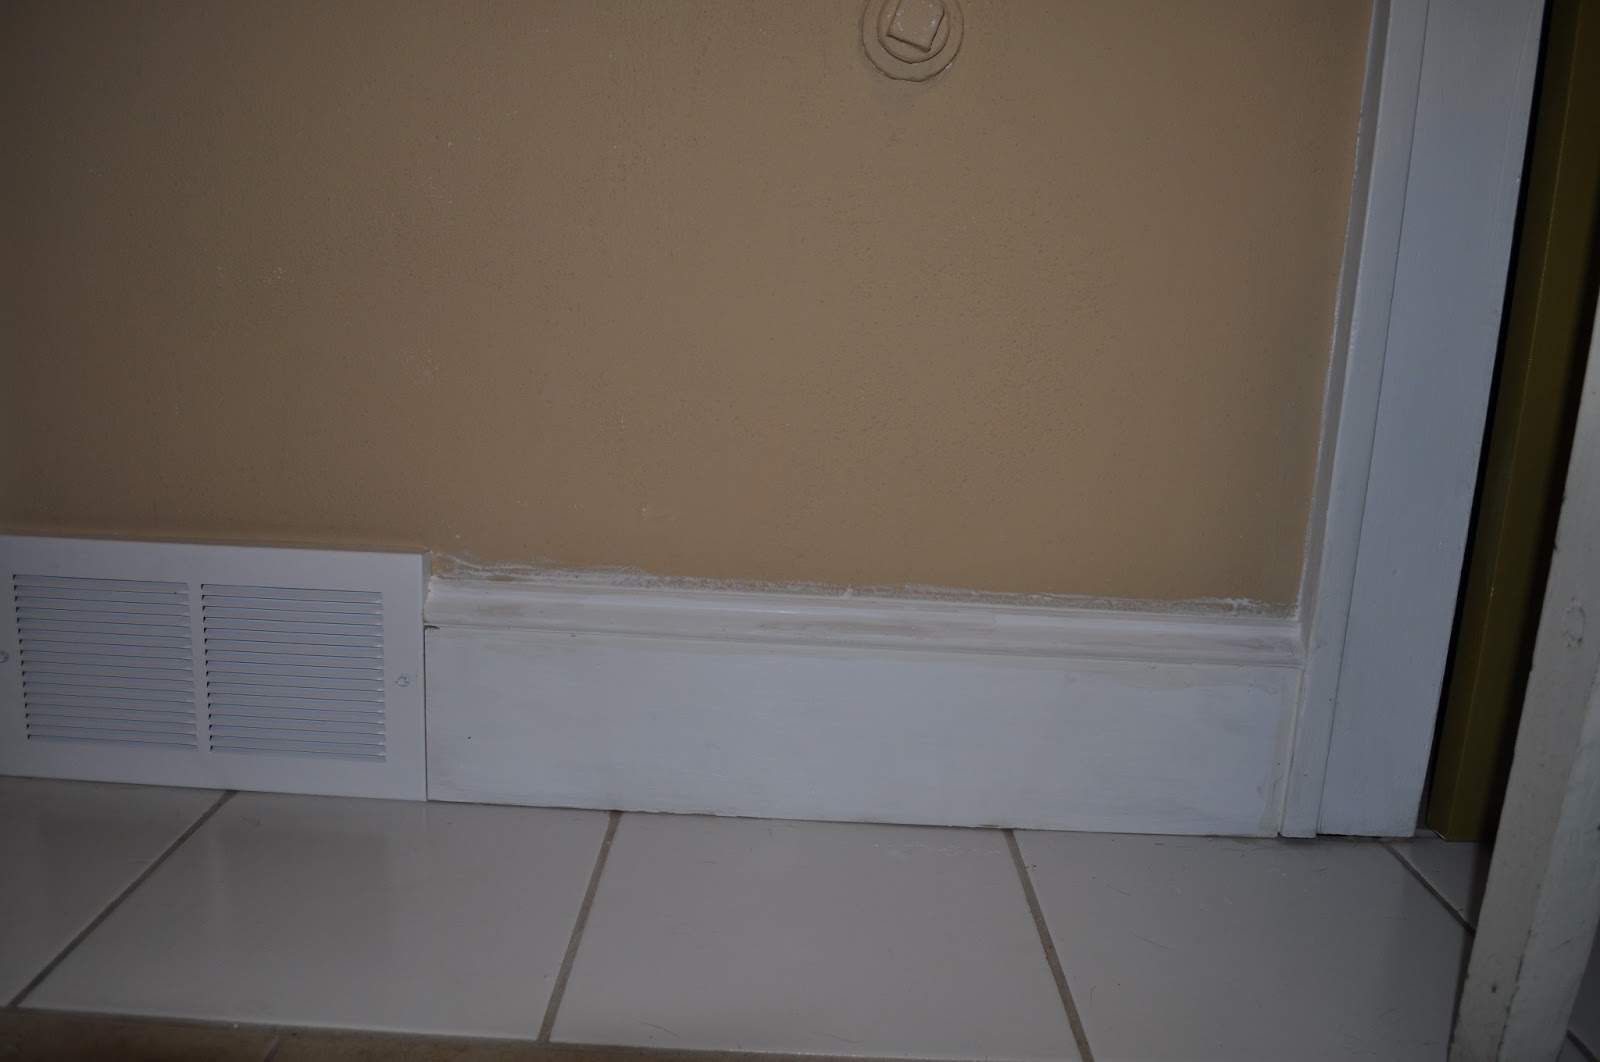
And after a little caulk, paint and some patience we have this:


I love the way it turned out! Funny thing is it only took the hubs around 15 minutes to get it installed....shortest projects always take the longest to get started...
More progress coming up for the downstairs bathroom reno VERY shortly!!
Kitchens are that part of your home almost daily that one uses. With the trendifying houses everyone actually wants to remove everything and the kitchen units here gives to you all of the elements needed to get a kitchen. It brings to you a number of fittings and kitchen furnitures. It makes it better to get information for the folks all across the world that are seeking information related with this.
ReplyDeletewww.paramountbathrooms.co.uk