Showing posts with label Second House. Show all posts

Thursday, October 19, 2017

Faux Brick Backsplash

Phase one of our kitchen project is to get it feeling clean and less dated while we save our pennies for the kitchen renovation project we want to do next year.  This phase includes painting the cabinets, ripping out the plastic tile backsplash and installing a faux brick backsplash, switching up the lighting and freshening up the walls with a cool-warm gray.
We painted the cabinets.  I'm not going to go into extreme detail on that because there are so many tutorials out there.  To make a long story short, we cleaned them, lightly sanded them and painted them in a cabinet paint. Darker lowers, one shade lighter uppers.  So far they are holding up pretty decent.  We painted the inside edges and I've noticed that some of them are peeling, but it's not the end of the world.  *Make sure to keep all the hardware for each cabinet together, mixing them up can cause major headaches when trying to reattach them.* We labeled all of the bags and had coordinating letters from bag to cabinet.

The *faux brick* backsplash I've seen floating around on Pinterest.  I wanted something that was not going to be hugely labor intensive, relatively inexpensive, but would make a difference.


This did the trick.


I was a little nervous at this point, but figured "what the hell" and continued on.  Anything can be fixed with a little *lot* of caulk...


and a boat load of paint.


We had this light over our sink.


I wasn't a fan, so I found this one.


and ended with this:


Tuesday, January 17, 2017

Nursery Wall Decor

I bought these on Etsy, from here and am in love with them!


It was easy to put together once I figured it out.  The numbers on these types of pieces...


Coordinate with the same number on the larger pieces and slide in. 


After they are all in, viola!


and here they are above each of the boys' cribs.


They have a variety of awesome cardboard mounts in different colors.  Check them out!

Friday, January 13, 2017

Bathroom Shower Tile

So months and months and many more months ago, when I was pregnant I knew that before the boys arrived I would want to retile the bathroom.  We had this plastic surround that would always get grimy and gross, so I wanted something fresh and clean.  This is what we started with:


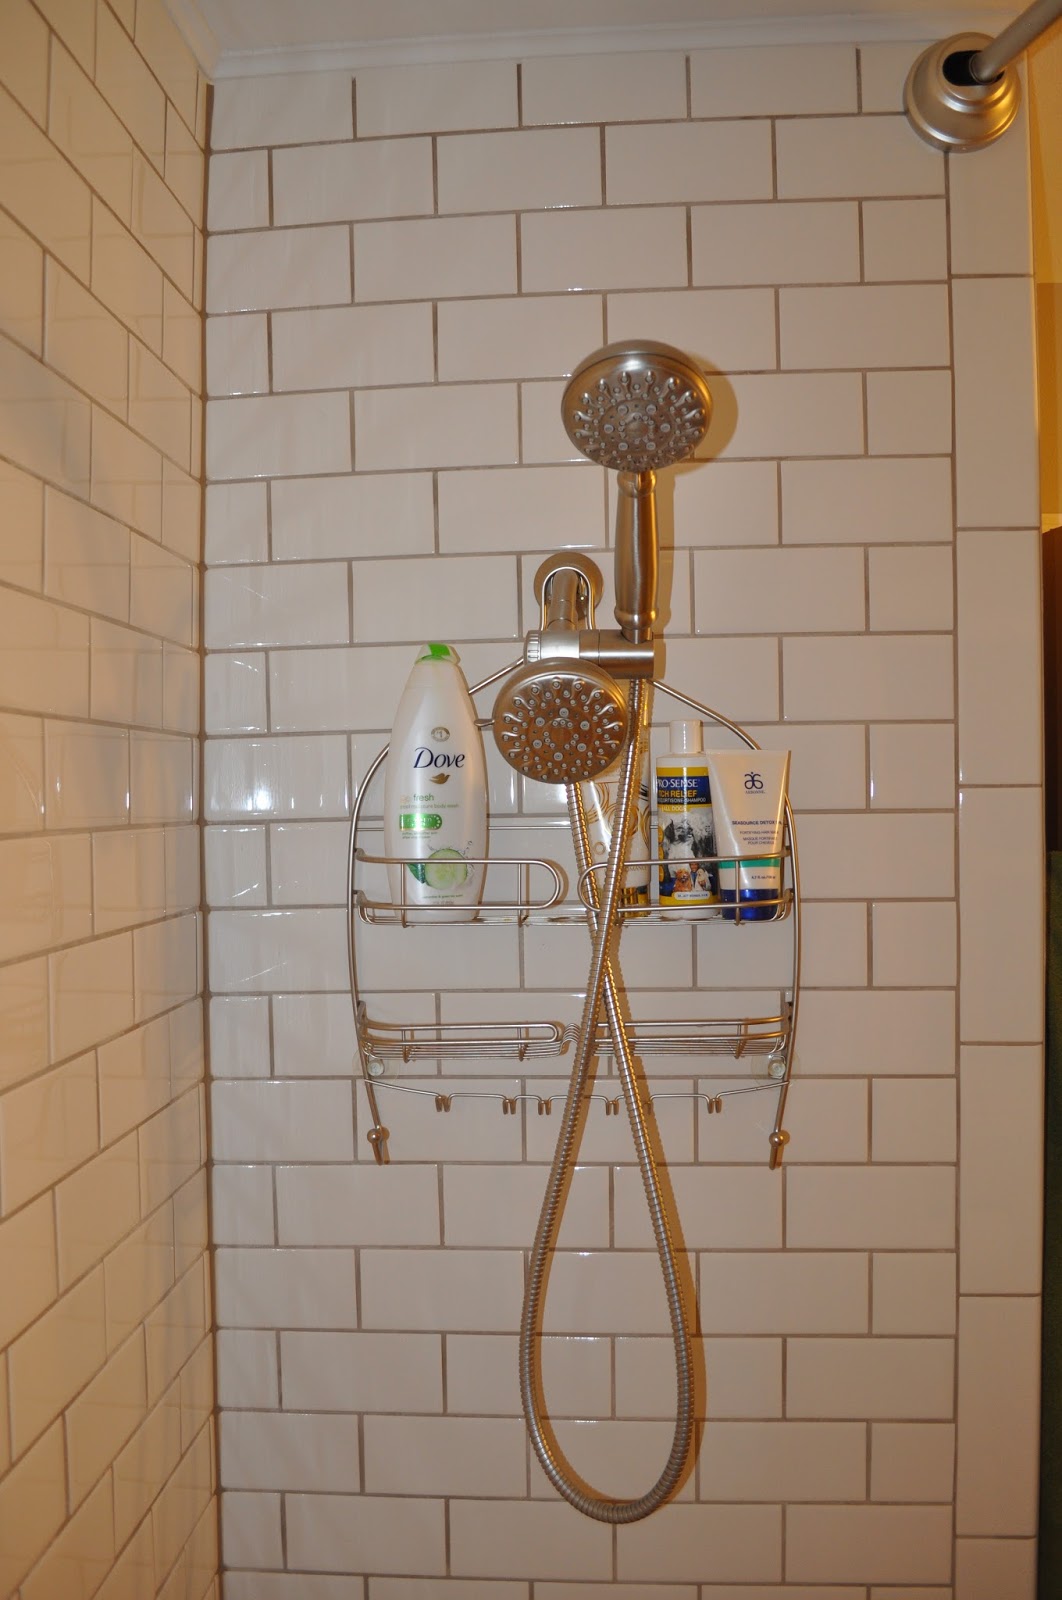
and after some tile, a little grout and a new shower head:
We bought the subway tile from Menards, got the tile for the niche, along with two preformed niches from The Tile Shop and bought the shower head set from Home Depot.  I'm in LOVE!
We did our usual thing and wrote inside the wall to mark the occasion and memory.
Once the walls were up we started tiling.  Getting the niche done first, followed by the subway tile.
Followed by grout.
We ended up with a decent size gap between the top piece of tile and the ceiling. 
Like the three little bears it was too small for tile, to big for grout so....
We added a piece of quarter round to the top, caulked and painted it the same color as the ceiling.
Just perfect.
We love the showerhead, but it didn't come with a handheld attachment so we bough this one and it works great for giving the boys and the dogs baths and matches great with the showerhead kit we bought..


With all of our other bathroom projects, we always wanted to do a niche to have a place to store all of our things, but when it came down to it we never did, thinking it would be too much work or too expensive.  It did cost a little more, and take a little extra time, but it was SO worth it.
I found this little guy at Steins last fall.  It is called an "air plant" and literally you do NOTHING to it.  Set it and forget it.  No water, no dirt, nothing.  I found the little pot at Steins too, plopped the plant inside and put it in our bathroom.  The steam from showers helps it and I have not watered it at all!  Maybe I've found a plant that I can actually keep alive.


Thursday, June 16, 2016

Stenciling A Ceiling

When we moved into our house the ceiling in our guest bedroom had glow in the dark stars all over.  In my attempt to remove them, I also removed part of the ceiling.  Fabulous. 

I hate painting ceilings.  I think I would rather have dental work done then paint a ceiling.  Seriously.  Well regardless, I painted the ceiling.  Although I learned from previously painted ceilings, I still managed to miss parts.  So my way of attempting to add a little spice to the bedroom, ANNNDDD help with my inability to properly paint a ceiling, I added some color and a stencil and went to town.

We added this light, and are loving how this room is turning out!


I had no rhyme or reason as to where I placed the stencil, I just eyeballed it, overlapped a few for fun and when it felt done, I was done!  The stencil I got from Michaels Craft Store a while back and used it on this project and the paints I also used on the same project and  had some extra laying around in the basement from other projects, so really this project didn't cost me anything!


Although this project has been done for a while now, we are slowly getting things done and hopefully will be complete before the boys arrive!!


Tuesday, June 7, 2016

DIY Curtain Rods + Burlap Curtains

So we have this theme sprinkled throughout our house, and to make the nursery feel a little more "boy like" we did similar projects here, here and here, and DIY'd some industrial curtain rods for their room.

industrial curtain rod, curtain rod, curtains, burlap, diy, overstock, menards, plumbing, plumbing materials, nursery, pregnant, pregnancy, twins, boy nursery, baby nursery

industrial curtain rod, curtain rod, curtains, burlap, diy, overstock, menards, plumbing, plumbing materials, nursery, pregnant, pregnancy, twins, boy nursery, baby nursery 

industrial curtain rod, curtain rod, curtains, burlap, diy, overstock, menards, plumbing, plumbing materials, nursery, pregnant, pregnancy, twins, boy nursery, baby nursery

And for the tie backs we used kitchen twine....nice touch and we had it on hand!

industrial curtain rod, curtain rod, curtains, burlap, diy, overstock, menards, plumbing, plumbing materials, nursery, pregnant, pregnancy, twins, boy nursery, baby nursery

We added some burlap curtains that I bought from here.

**Word of advice**  I researched the best way to prepare the burlap curtains for hanging, since they are not a normal fabric and it was recommended to wash and dry them.  DON'T!

Two Reasons Why:

1.  They shrink when they dry.  I bought 96 inch curtains, we adjusted the curtain rod to the height we wanted *before washing and drying* and now they are wondering where the flood is.  Not the end of the world, but having the curtain rods already in made it difficult to switch things around.

ALSO....

2. They wrinkle and I despise ironing.  I hate it, and if there is a hell, and I end up there, then ironing ALL day is what I will do.  No amount of dryer balls, taking them out before the dryer is done, happy dancing, or praying would help them.  Just lots of steam, spritzing with water and the dreadful ironing did the trick.

industrial curtain rod, curtain rod, curtains, burlap, diy, overstock, menards, plumbing, plumbing materials, nursery, pregnant, pregnancy, twins, boy nursery, baby nursery

It took me hours.  Hours and hours to iron three curtain panels, and while they didn't turn out perfect, they are a LOT better then they were.  

It didn't take very long for the hubby to get them installed and the curtains and the curtain rod really transform the room!

industrial curtain rod, curtain rod, curtains, burlap, diy, overstock, menards, plumbing, plumbing materials, nursery, pregnant, pregnancy, twins, boy nursery, baby nursery

industrial curtain rod, curtain rod, curtains, burlap, diy, overstock, menards, plumbing, plumbing materials, nursery, pregnant, pregnancy, twins, boy nursery, baby nursery

industrial curtain rod, curtain rod, curtains, burlap, diy, overstock, menards, plumbing, plumbing materials, nursery, pregnant, pregnancy, twins, boy nursery, baby nursery

Needless to say lesson learned, but I love how they turned out!


Wednesday, May 18, 2016

Dresser Makeover

The hubby and I painted a dresser we had inherited from his mom a few weeks back and I love how it turned out!

This is what we started out with and while it is pretty, it wouldn't work with what we have planned for the boy's room:


We had already taken the hardware off and started to empty the drawers at this point.


And after three coats of  Pittsburgh Paint's Airy Mint (N233) in a semigloss and a few coats of semi gloss Navy Blue spray paint on the hardware this is our finished product: